Pages

Monday, March 10, 2014

One of a Kind

I obsess over cell phone cases! I realize this is a silly thing to care about but I want it to be just right... not too flashy, not too boring, and not too trendy. Can a cell phone case be all these things?? I say yes! So did Martha Stewart's crafters, apparently, because the latest LIVING magazine had great ideas and a template on how to create a one of kind fabric iphone case. 

iphone-opener-028-mld110774.jpg
templates here


I copied the idea for my droid and came up with a sleek and sophisticated cell phone case for just a few bucks.


All you need is a transparent cell phone case, some Modge Podge and your choice of fabric. It's best to choose a thin fabric so it can form to the outline of the case.
 Brush Modge Podge over the outside of the case, press fabric on, trim the edges and Voila!


Monday, January 27, 2014

Earring Organizer


I call myself a Professional Organizer but should I really allow myself that privilege when my jewelry box looks like this??


It's usually worse than this, too! I had just cleaned out the crayons (no idea), spools of thread and receipts. I always had trouble finding both earrings of just about every single pair jumbled in there, which I'm sure is really hard to imagine! 

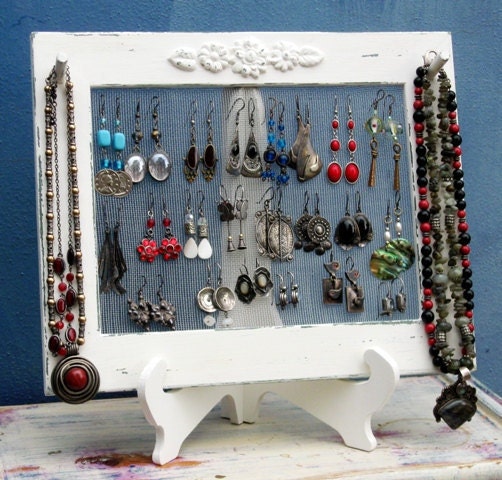
I had seen some really fun earring displays made out of screen and picture frames like this one on Etsy
and thought I would try to do something similar.

Earring Holder On A Stand / cream Shabby Chic / 25 - 40 Earrings / 6-10 Necklaces
You can buy this here!


I didn't have any frames sitting around that I could use, though, but had a moment of inspiration when I was trying to find a new place for my old silver tray.


The tray has handy dandy cut-outs (I'm sure there's a fancy name for it) all around the sides that make it easy to stretch twice across.


Once I had the twice strung across and knotted, I added a loop at the top and got to work organizing!


 Now I'm all organized and am well aware I have more dangle earrings than any one person needs. Who can say for sure, though....

It's so fun to be creative and give something a new purpose!


I

Friday, December 13, 2013

Salon makeover

Usually, I'M the one getting a makeover at a salon so it was such a fun experience to makeover a salon!

The salon owner had been trying for a few months to juggle working a full client load, all the responsibilities that come with being a parent, AND somehow update the look of her salon all at the same time. Friends and clients were even trying to help her stay on track but she lost her steam so they lit the bat signal and I rode into town in my super cool minivan ready to save the world.


As you can see, the salon waiting area was kind of....lifeless. We can be honest about that, right? The salon owner, Kim, is so fun and creative but this room wouldn't give anyone that impression about her.


I think part of the reason the salon redo wasn't going well was because the gray accent color Kim had chosen, had no warmth and drained energy from the rooms instead of bringing energy to the salon. 

The first thing I did was focus on color. Kim wanted the salon to stay mostly white so the wall color wouldn't affect the way hair color appeared but we DID change the accent walls. 

With a new vibrant blue, accented with reds, the waiting room has color and style.


A new custom logo will be going up over the red chair so that wall will  have some color soon!


The room where Kim and her clients spend most of their time was cluttered and boring. It lacked creativity AND function.


We rearranged the work stations, organized, organized, organized and then added the same vibrant blues and reds that we used in the lobby.


Since the salon is divided into four small rooms, we needed to make sure that everything was really organized and streamlined. 

The room with the dryers was crowded and had a stack of decorative items no longer being used.


 We cleared out everything that was unused and Kim even sold one of her dryers so there would be a little more elbow room between chairs. We added photos of her clients to make the space more personal.


I re-purposed one of her mirrors by painting it the same blue as the wall color (I still let some of the metallic shine through) and I brought in more of the same color with storage bins. By repeating the same colors, the rooms are cohesive yet not overpowered.

One more room....


The shampoo room had the same issues as the other three rooms. No color and no function. Our first order of business was to find a storage cabinet that could fit all the shampoos, towels, color tubes/bottles, and all the extra little things that needed a home.


Thanks to Nadeau in Nashville, we found a great cabinet that just needed a little bit of pizzazz. 

We changed the accent wall from light gray to vibrant blue and then added some pizzazz to this, too, by having a custom mural painted. Devon did an amazing job!


The shampoo room now has style and function. 


Remember what the salon looked like originally?


Now it's colorful, organized and inviting.


Wednesday, October 23, 2013

Staging that makes sense

I have friends who had a precious house they needed to sell so they could move into their dream home. I had helped them with some decorating and picking paint colors but we had never tackled the front room. Another friend of theirs had tried to help them stage the house but it needed a little more attention.


All the area rugs had been removed and the side tables had been put in storage so the furniture seemed like it was floating around haphazardly. I think the first "helper" thought the rugs and tables made things seem crowded but it was really the scale of the furniture, not the accents.

First thing for the room was bringing back a rug so we could define the sitting area. I also brought in smaller scale furniture and even used outdoor wicker chairs! I arranged the sitting area in front of the window so instead of walking through the sitting area, people can now walk around it.


Home buyers get a great first impression when they walk in the door and the room makes sense. Did I mention the house sold already?? Well, it did but I'll still show you more pictures of the rest of the house. Stay tuned!! 


Monday, July 22, 2013

Storage storage storage!


My little baby is not a baby anymore! How did that happen??  Here's what his room looked like 4 1/2 short years ago.
His room looks tiny, doesn't it?? Well, it is. I have friends whose closets are bigger than this bedroom! 


To me, kids rooms can be the hardest rooms to keep up with. Their needs change, their stuff multiplies and a crib can no longer contain their little energetic selves. 

After the baby setup and before I settled on his current bedroom setup, we had a full size bed, an antique dresser and a bookcase in his room. BORING! It was really a better set up for a guest room, which was my main reason for setting it up that way, but when we realized he hated his room, I decided to give him a room he liked and just let guests stay in a hotel. 

My little guy loves green. I mean LOVES green. The first change in his room was the wall color. Yes, it's green.


I found this table herb container and decided it would be perfect for his collection of treasures! Added some hooks and hung it on the wall. The green isn't perfect so I very sweetly asked if I could paint it blue but he adamantly refused. I think he would run away if I painted it so green it stays! 


Almost everything in his room is from craigslist. The bed is a craigslist find that was originally a dark cherry color but it was too dark and heavy for the size of the room. Tried to paint it with Annie Sloan Chalk Paint but it failed me miserably so I ended up spray painting it. 10 cans of spray paint and 20 new holes in the ozone layer and his bed looks great!


My goal with every piece of furniture in his room was to get additional storage. The bed functions as his dresser and even gives us additional toy/book storage. 


The storage cubbies were also a craigslist find. Thankfully Annie Sloan worked for me on the doors, which were changed from neon green to Grecian Blue.
 

The storage cubbies are fabulous! They don't take up as much space as the Expedit systems but give us just as much storage. 

My little (big) guy loves his room now so I would say my summer project is a success. 


My final idea requires some help from grandpa. Start with a simple sheet of plywood and transform into a 5 feet tall rocket shaped, magnetic board for the  abundant artwork my little guy creates! What do you think, dad? Feel like pulling out your Skill Saw?


Wednesday, March 6, 2013

Stripes are in the Cool Crowd this year!

I have seen lots of companies featuring stripes so I thought it would be fun to show you
 some stripey options that caught my eye. There are so many ways to use stripes and whether your style is traditional or modern, stripes can be your new best friend!


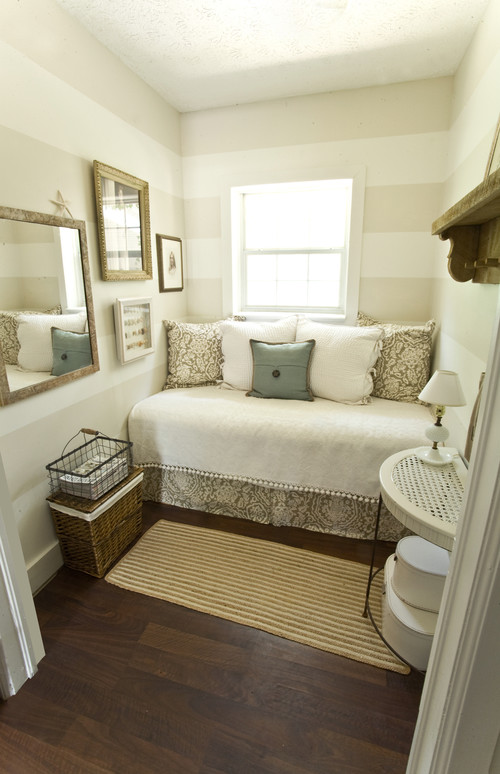
This bedroom may be small but they have used the space cleverly and it is very stylish and inviting. I tend to like horizontal stripes better than vertical and, in fact, my living room has horizontal stripe so this is a look I know I enjoy!


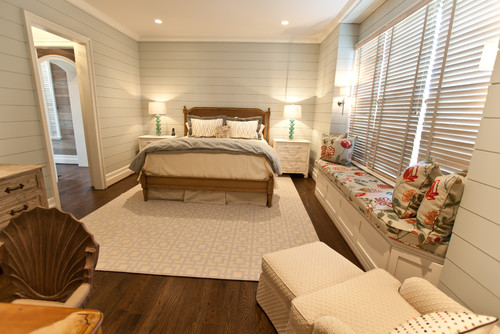
I love this room but can't really tell if the walls have stripes or clapboard. Either way, it is sleek and stylish!


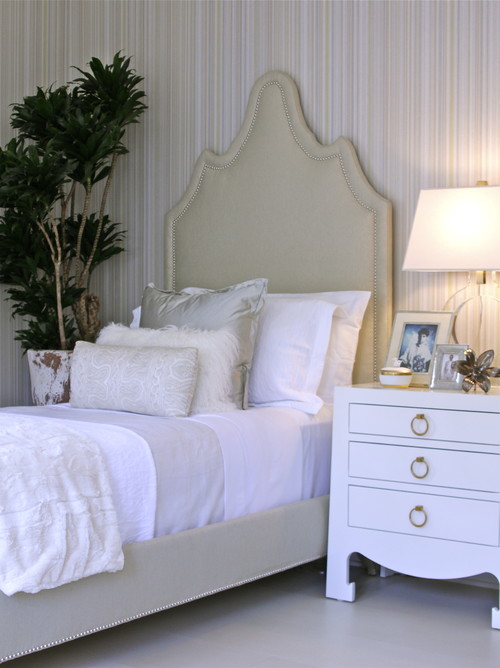
Are vertical stripes more your style? Here's a pretty one but since the stripes are so narrow I would rather get this look with wallpaper than try to paint it!


Like the look of stripes but don't want the commitment of them on your walls? Here are some other ways you can be trendy and still easily move on when you are tired of it.

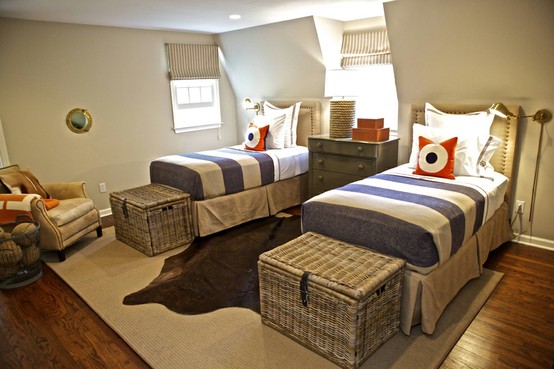
This bedroom is great! I love all the different textures in the room and like how they did big stripes on the bedding but narrow stripes on the window shades. 


This chair has clean simple lines but the varying stripes give it a funky modern look that I really like.


An even simpler way to get stripes is to add a few pillows here and there. I love these from earthlinens


Think you'll add some stripes to your current decor? Would love to hear how you've worked them in!

Monday, February 18, 2013

One man's trash....is another's craft center!

Well, my resolution to blog more often fell flat on its face and is a little bruised and battered! Poor little guy. BUT, even if I haven't been blogging, I have been busy!

Last summer, my neighbor decided to get rid of a bunch of furniture and other stuff that she wasn't using. I was lucky enough to claim this little gem!

I know, it looks kind of rough but it was free and I thought I could slap some paint on it and use it in my 4 yr old's room. Once I measured, though, it was too big for his room so I just let this sit and sit in the garage.

We have been sick a lot so far this year and being cooped up at home so much has made me get antsy about a few organizing projects. The pantry, the half bath, the garage, my craft area... and several others...

I realized that by painting the dresser and using it in my dining room for craft storage it would set in motion The Great Shuffle of 2013, which would help me check off 3 areas in the home that have been driving me crazy.

Let the Shuffle begin! 

My dad built this for me last summer and I loved it in the dining room but I actually designed it to be a vanity in my half bath! So, out comes pedestal sink and in goes vanity. (Will have pictures soon!)

Arts and crafts that are in a rolling cart in the pantry AND the green box on the floor by table go in freshly painted and polyurethaned dresser!  Bins in the small drawers help divide markers, crayons, pencils, stamps and paints. The kids can find everything and, even more importantly, put it all away. 


It ALL fits! Plus, now I can walk into my pantry. AND, the dresser isn't taking up space in the garage anymore! Who knew one little dresser would be the catalyst for so many projects??


Now I just need to find hardware for the dresser and we'll be all set!


Sunday, January 13, 2013

A new year, a simple resolution

I hope everyone had a wonderful Christmas! My boys were absolutely thrilled that it snowed at their grandparents' house. We had sooo much fun sledding, building a snowman and having snowball fights with our precious cousins.


And now back to the real world and a new year....

My one resolution for the year is to blog on a regular basis! I'd love to say I'll post once a week but twice a month would be a vast improvement. I look forward to what this new year will bring and I can't wait to share ideas that inspire me, project pictures, and tips to help you achieve your own decorating and organizational goals!


Sunday, November 11, 2012

Basement Makeover

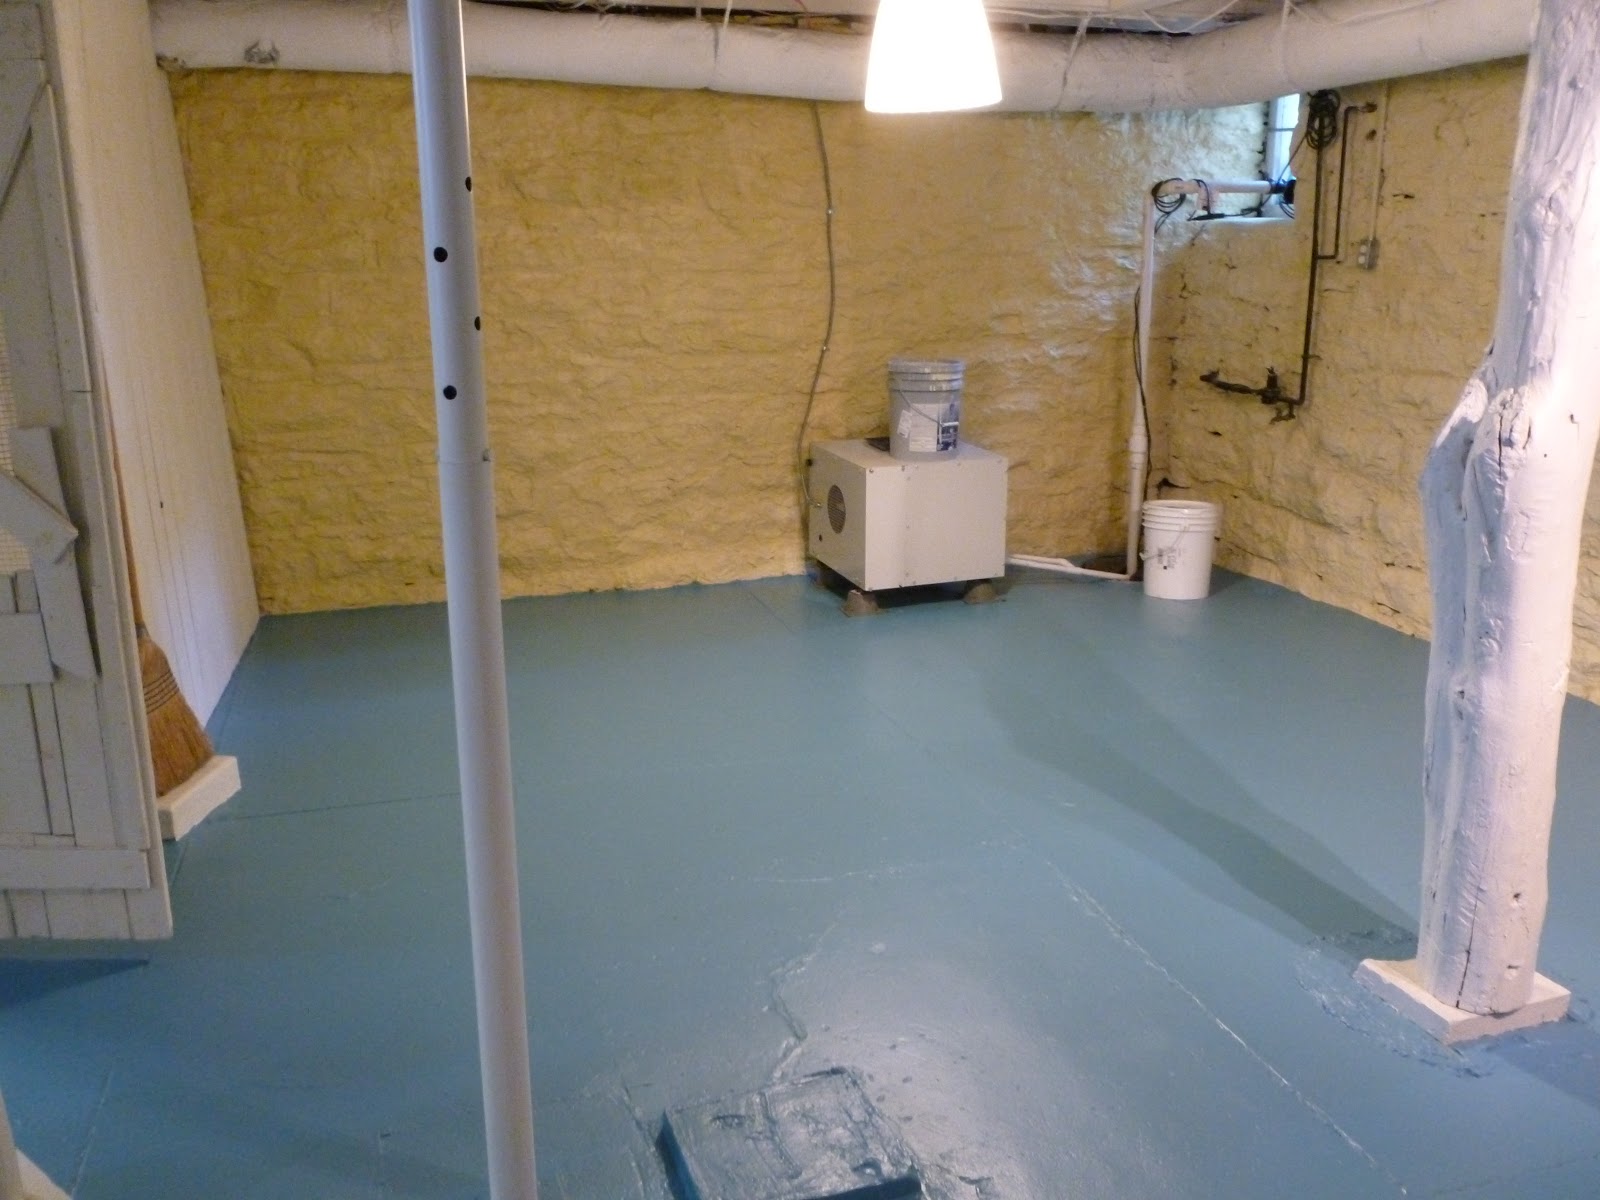
A few months ago I posted some Before pictures for a basement I was working on. Here are some reminders of what it looked like before I got called in to rescue this space.


It was dark! Did I mention it was dark? The floors were black, the ceiling was black, the paneling was dark brown and the stone walls were a nice 100 year old gray. 

The bedroom for the 12 year old son was just as colorful.


Our first course of action was to paint and paint and paint! Well, not me personally, but a great big crew of guys who looked at me like I was crazy when they saw the basement and asked, "Are you sure you want to do this? Maybe you should call it a cellar and walk away..." Fortunately, I'm pretty stubborn and I had a vision of how this basement could look!


As you can see, the ceilings were painted white, the walls were painted a cheerful yellow, the floors were painted a fabulous blue and the paneling was painted a soft yellowish white. It looks like 20 lights were installed but it's just paint. 

Here are After pictures of the bedroom:


I rearranged the furniture and shifted the red storage unit and drawer unit in from the family room and installed a couple shelves to give him more storage. New bedding and artwork help brighten the room even more.


Now to the family room!

Quick reminder of the Before

Drum Roll Please!

The color palate stayed simple since there are so many different textures going on with the walls and ceiling. I flip-flopped the furniture placement so the tv area is more open and easier to access. View as you come down the stairs. I love it now!!!
The dining area is now where the tv used to be. I reupholstered the chairs with a bright cheerful print. The table in the background was made by the homeowner and his son so this sentimental piece needed to stay. It is now a great place to sit and do homework! 

The youngest member of  the family (5 year old boy with a hilarious personality) has claimed the area behind the futon as HIS play area! So keep out.


 Matching rugs unite the two areas, cream slip covers give new life to furniture, and an Ikea Expedit holds games, toys and videos. 

The whole family loves spending time in the basement now instead of avoiding it like the plague  I hear there has been a Little House on the Prairie movie marathon weekend enjoyed by all in the new and improved basement!

I would like to give a special thanks to my friend Karen Reinsch for taking the After pictures for me! Check out her photography blog HERE


Paint colors/products used:
Dry Fall in white on the ceiling
Sherwin Williams, Classical White on paneling
Sherwin Williams, Manitou Blue on floors
Virginia Limeworks, Washed Sand (a lime paint) on the stone walls